How to do Inverted Rows at Home?
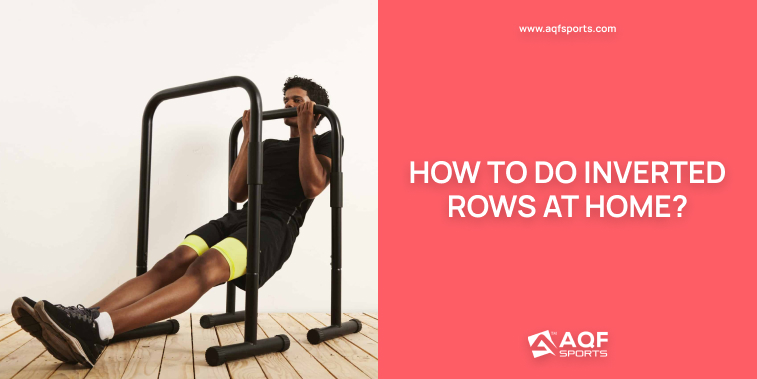
Want to add a comprehensive shoulder and core workout without getting into complex equipment? Inverted rows are an easy and versatile exercise to do at home. They can be easily modified to suit different fitness levels, from beginners to advanced athletes, making them a versatile component of any workout routine.
As a bodyweight exercise, inverted rows are a great option for those who do not have access to a lot of equipment or prefer not to lift heavy weights.
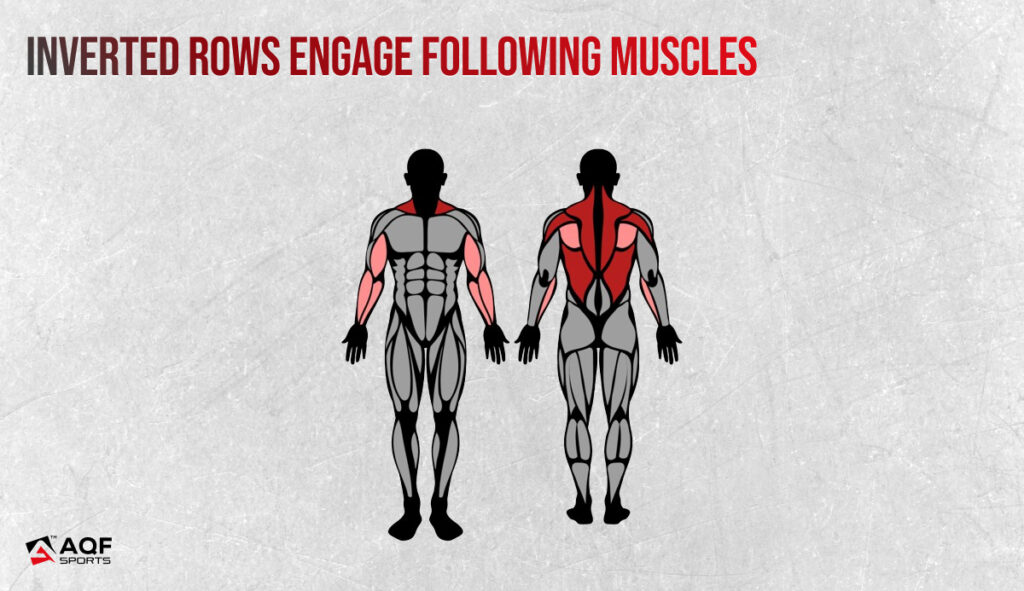
Inverted Rows Engage Following Muscles
Primary Muscles:
- latissimus dorsi (lats), which are the large muscles on the sides of your back.
Secondary Muscles:
- trapezius (traps)
- rhomboids
- rear deltoids
- biceps,
- and forearm muscles.
Who Should Do Inverted Rows:
Strength and Power Athletes: Inverted rows are beneficial for athletes in disciplines like powerlifting, bodybuilding, and functional fitness, as they build a strong, muscular back.
Beginners: For those new to exercise, inverted rows are a safer and more accessible way to start building upper body strength compared to exercises like pull-ups.
Individuals with Limited Equipment: If you don’t have access to a lot of gym equipment, inverted rows are a great choice as they can be performed with minimal gear.
People Seeking Better Posture: Individuals with desk jobs or those looking to improve their posture can greatly benefit from the back and core strengthening aspects of this exercise.
Recreational Athletes and Fitness Enthusiasts: Whether you’re into sports, outdoor activities, or just general fitness, inverted rows can improve your overall upper body strength and endurance.
How to Do Inverted Rows – Step by Step Guide
Performing inverted rows at home is a great way to build back strength and improve overall fitness using minimal equipment. Here’s a step-by-step guide:
Equipment Needed:
- A sturdy table or a bar that can support your weight. You can also use two chairs with a broomstick placed across them.
Step-by-Step Guide:
1. Setting Up:
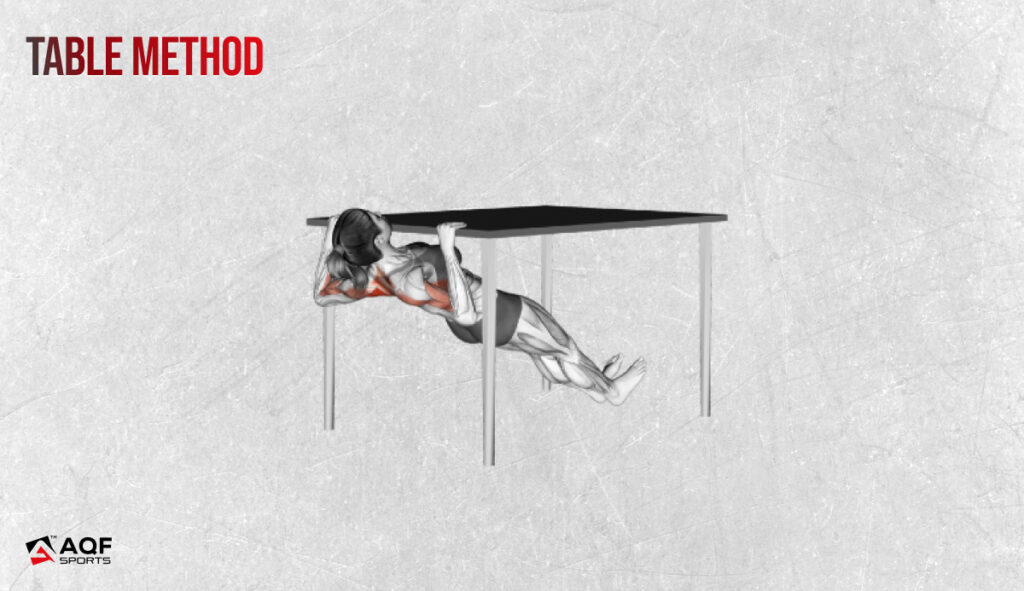
- Table Method: Lie under a sturdy dining table. Grab the edge of the table with both hands, palms facing you. Your body should be straight underneath the table, with your legs extended forward.
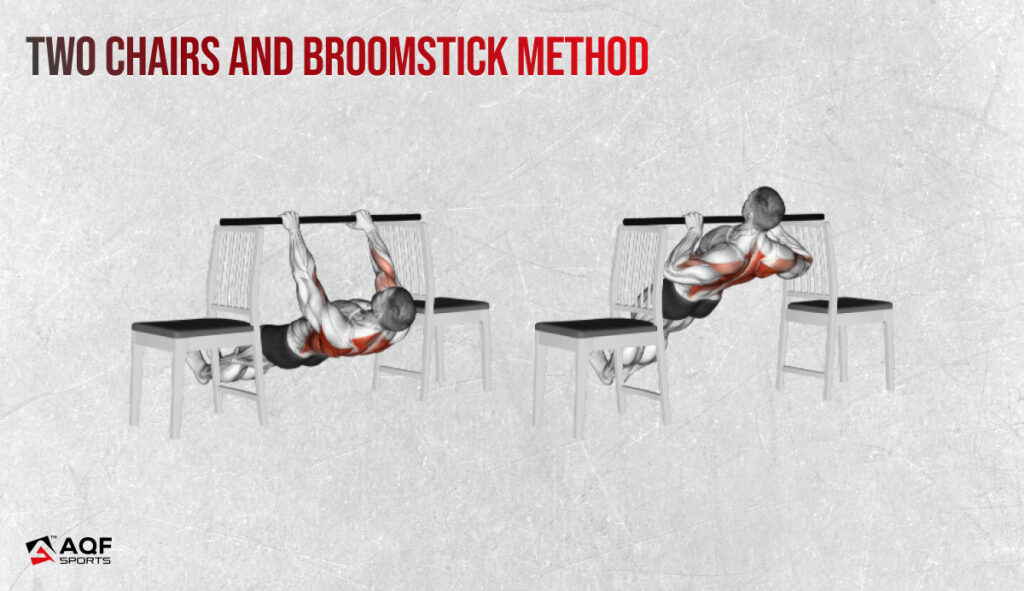
- Two Chairs and Broomstick Method: Place two chairs apart, facing each other. Lay a broomstick across the top of the chair backs. Ensure it’s secure and can bear your weight.
2. Starting Position:
- Body Alignment: Keep your body straight from your heels to your head. Your heels should be on the floor, with your toes pointing up.
- Grip: Hands should be slightly wider than shoulder-width apart.
3. Performing the Row:
- Engage Core: Tighten your abdominals and glutes to maintain a plank-like body position.
- Pull Up: Bend your elbows to pull your chest up towards the table or broomstick. Focus on using your back muscles, not just your arms.
- Elbow Position: Keep your elbows close to your body as you pull up.
4. The Top Position:
- Chest Up: Aim to get your chest close to the table or broomstick.
- Pause Briefly: Once at the top, pause for a moment.
5. Lowering Back Down:
- Controlled Movement: Lower yourself back to the starting position with control. Avoid dropping down quickly.
6. Repeat:
- Repetitions: Start with sets of 8-10 reps. As you get stronger, increase the number of repetitions.
7. Safety Tips:
- Ensure Stability: Before starting, make sure your setup is stable. The table shouldn’t move, and the broomstick should be securely placed.
- Controlled Motions: Avoid jerky movements to reduce the risk of injury.
This exercise can be a great addition to your home workout routine, requiring minimal equipment while still providing significant benefits in terms of upper body strength and muscle development. Remember, the key to effectiveness is maintaining proper form and control throughout the exercise. Click here to check out our complete guide of strength training exercises.
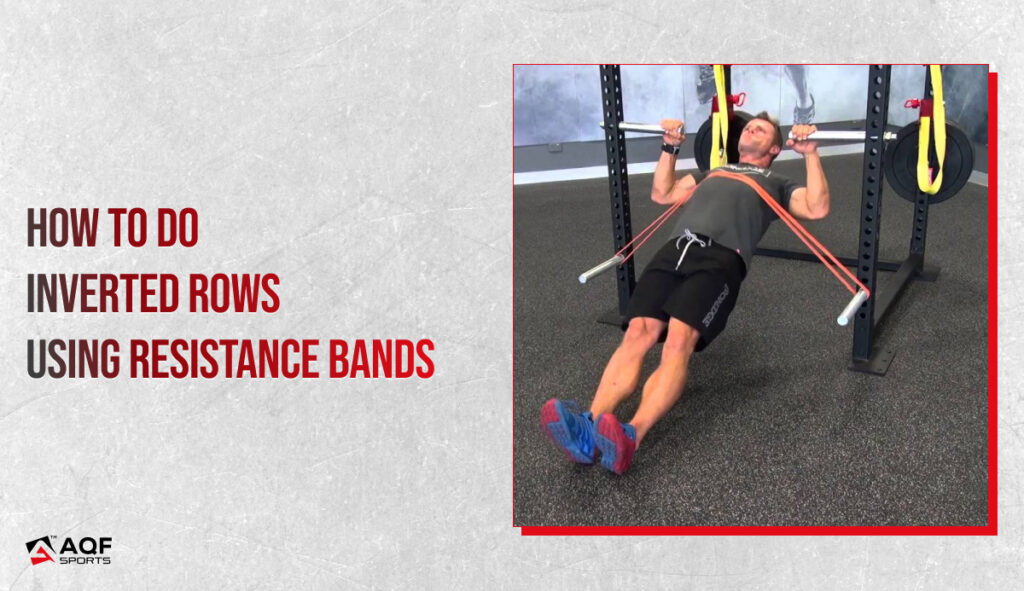
How to do Inverted Rows using Bands
Performing inverted rows using resistance bands is a great alternative if you don’t have access to a barbell or a power rack. Here’s a step-by-step guide on how to execute this exercise with bands, ensuring an effective and safe workout.
How to Do Inverted Rows Using Resistance Bands:
Step 1: Setup
- Find a Secure Anchor Point: Choose a stable, secure anchor point for your resistance band. This could be a sturdy bar, a beam, or any fixed object that’s approximately chest height or higher and can support your body weight.
- Attach the Band: Securely attach the resistance band to your anchor point. Ensure that the band is firmly fixed and won’t slip during the exercise.
Step 2: Grip and Position
- Grip the Band: Stand facing the anchor point and grab the resistance band with both hands. Your hands should be slightly wider than shoulder-width apart.
- Step Back: Step back from the anchor point, allowing the resistance band to stretch. The further back you step, the more challenging the exercise will be.
Step 3: Body Alignment
- Lean Back: Lean back until your body is at a diagonal angle. Keep your feet flat on the ground, hip-width apart.
- Straight Body Line: Engage your core and ensure your body forms a straight line from your head to your heels, similar to a plank position.
Step 4: Performing the Row
- Pull: Bend your elbows and pull your chest towards your hands, squeezing your shoulder blades together.
- Elbow Position: Keep your elbows close to your body as you pull.
- Peak Position: Once your hands are close to your chest or as far as you can go, pause briefly.
Step 5: Return Phase
- Controlled Release: Slowly extend your arms and return to the starting position with control.
- Repeat: Perform the desired number of repetitions, maintaining a steady, controlled pace.
Tips and Modifications
- Adjust Intensity: To increase difficulty, step further back to increase band tension or use a heavier band. For less intensity, step closer to the anchor point or use a lighter band.
- Maintain Form: Keep your body in a straight line throughout the movement. Avoid sagging hips or arching your back.
- Breathing: Exhale as you pull yourself up and inhale on the way back.
Equipment Needed:
- A sturdy and secure resistance band.
- A solid anchor point (like a bar or beam).
What are the Different Variations of Inverted Rows?
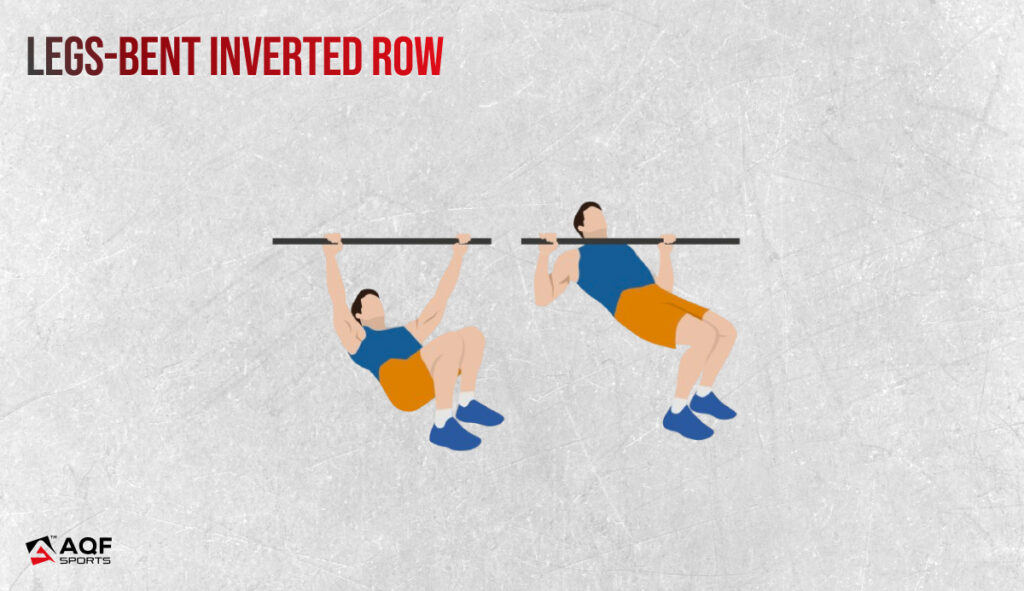
1. Legs-Bent Inverted Row
This variation is easier, making it perfect for beginners or those recovering from injury. By bending the knees, the exercise reduces the amount of body weight you need to lift. It is excellent for learning the movement pattern with less intensity. It also allows for better focus on form and muscle engagement.
Instructions:
- Set up as you would for a regular inverted row.
- Bend your knees and place your feet flat on the ground.
- Perform the row, keeping hips aligned with shoulders.
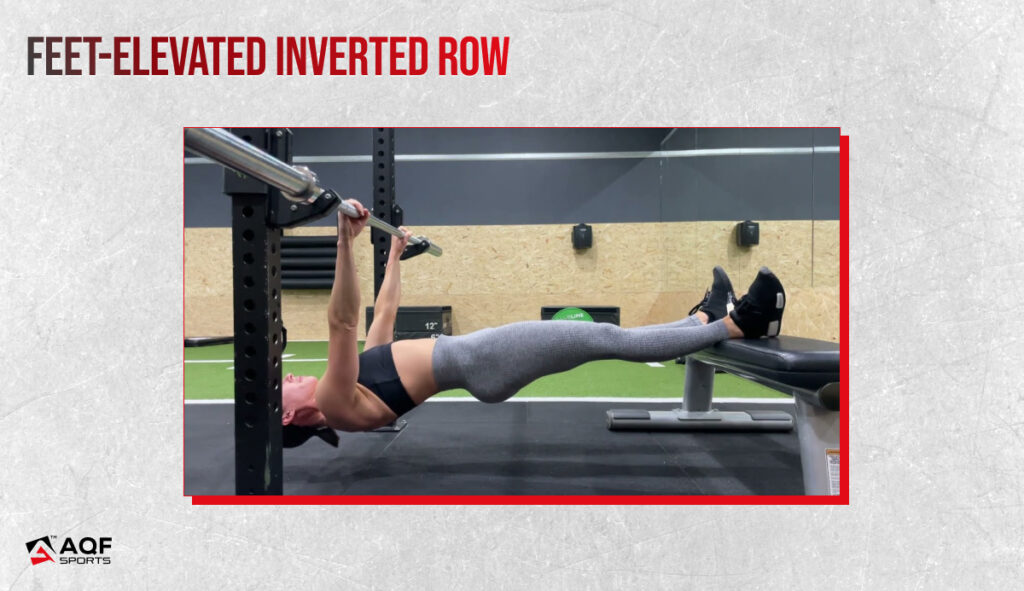
2. Feet-Elevated Inverted Row
Elevating your feet increases the exercise’s difficulty by adding more body weight to lift and a greater range of motion. It targets the upper back muscles more intensely and engages the core due to the increased angle of the body.
Instructions:
- Place a bench or box behind you to rest your feet on.
- Assume the standard inverted row position with your feet elevated.
- Perform the row, maintaining a straight body line.
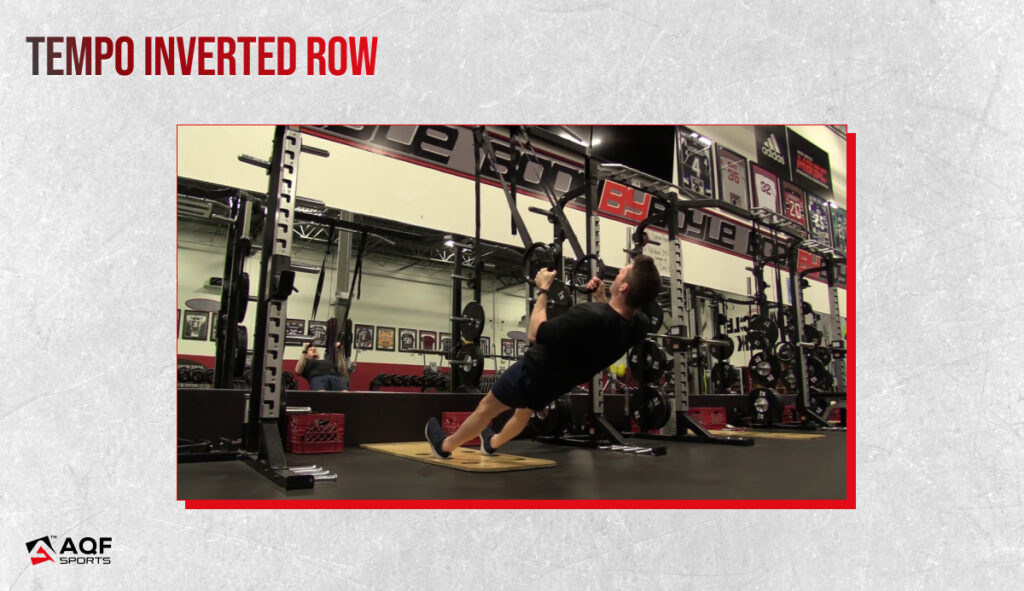
3. Tempo Inverted Row
This variation emphasizes a slower execution of the movement, focusing on the eccentric (lowering) phase. It increases time under tension, which is excellent for muscle building and endurance. It also helps improve control and form.
Instructions:
- Start in the standard inverted row setup.
- Pull yourself up to the bar, taking about three seconds.
- Hold at the top for a second, then lower back down over three seconds.
4. Wide-Grip Inverted Row
A wider grip shifts the focus more towards the rear deltoids and less on the biceps, changing the muscle activation pattern. It Enhances upper back and shoulder development, particularly targeting the posterior deltoids for a balanced shoulder development.
Instructions:
- Set up like a standard inverted row but with a wider grip.
- Perform the row, focusing on pulling with your upper back and rear shoulders.

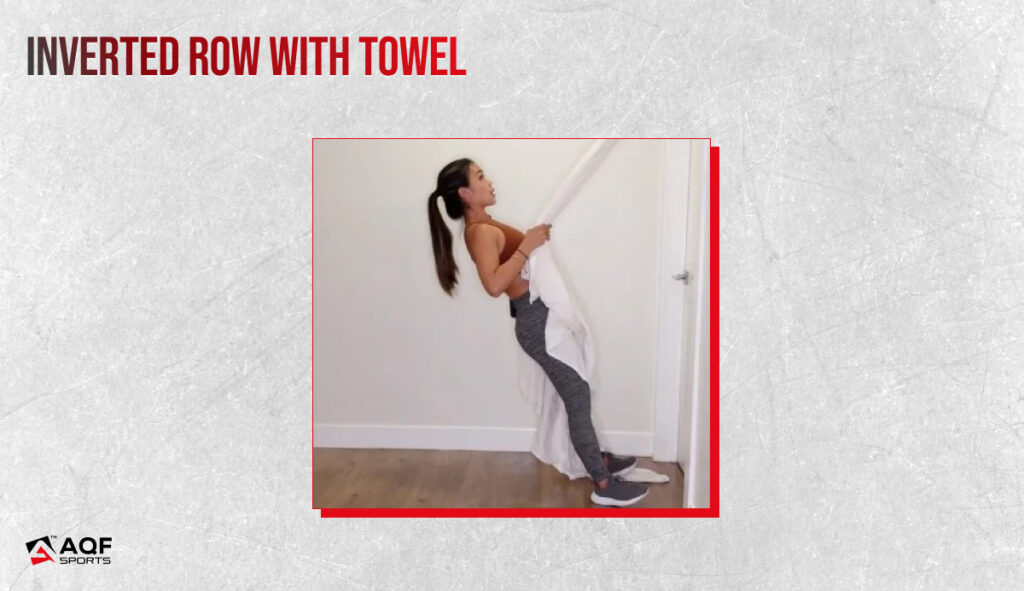
5. Inverted Row with Towel
Using a towel increases the difficulty by challenging grip strength and adding an element of instability. It is Great for improving grip strength and forearm development. The instability also requires more muscle activation for stabilization.
Instructions:
- Drape a towel over the bar. Hold an end in each hand.
- Row as usual, pulling up with the towel, engaging your grip and forearms more.
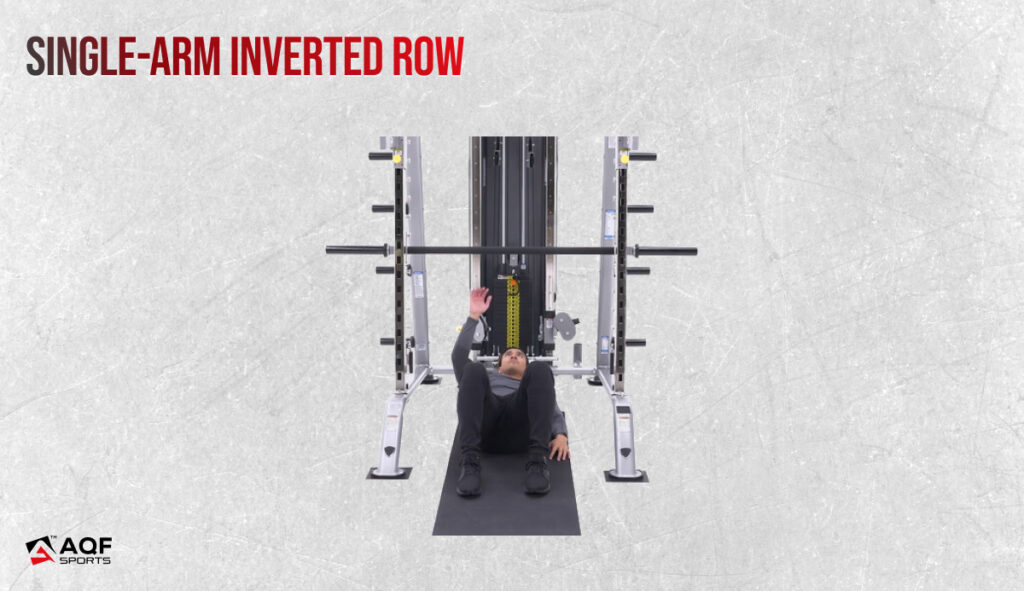
6. Single-Arm Inverted Row
Performed with one arm, this variation increases the demand on core stability and unilateral strength. It Addresses strength imbalances between sides and enhances core engagement. It also promotes shoulder stability and coordination.
Instructions:
- Use a lower bar or gymnastic rings. Grab it with one hand.
- Keep your body straight and perform the row with one arm.
- Ensure core is tight for stability.
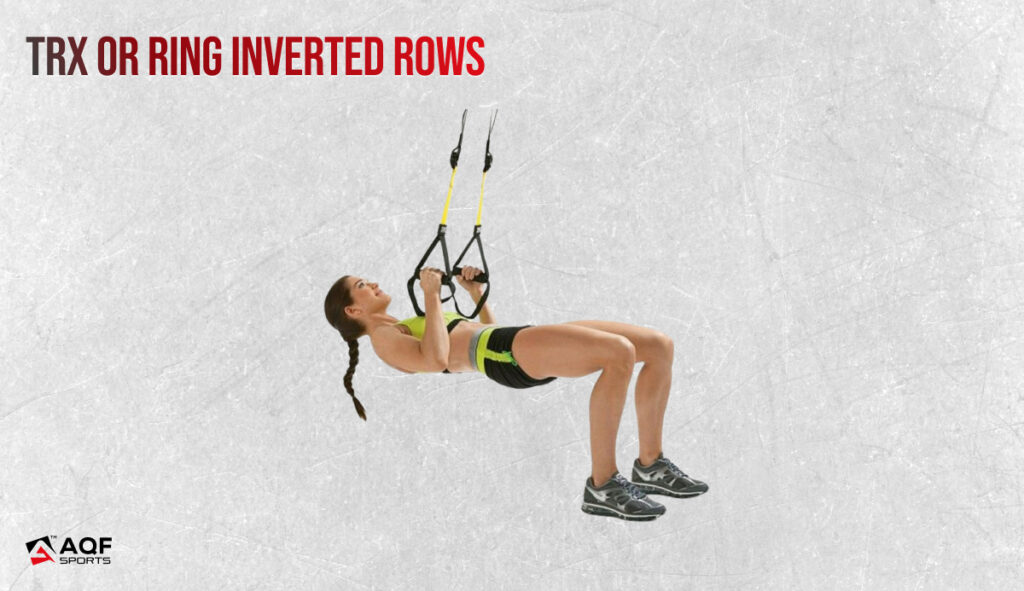
7. TRX or Ring Inverted Rows
Using TRX bands or gymnastic rings introduces instability, requiring more control and precision. It engages stabilizing muscles more effectively and enhances overall body control and balance. It’s also great for joint health due to the freedom of movement in the rings or straps.
Instructions:
- Set the TRX or rings to an appropriate height.
- Grab the handles with both hands.
- Perform the row, maintaining balance and control.
Benefits of Inverted Rows
Inverted rows are a highly effective exercise that offer numerous benefits, target specific muscle groups, and are suitable for a wide range of individuals. Here’s a clear, detailed explanation:
Benefits of Inverted Rows:
Muscle Building:
Inverted rows are exceptional for building upper body strength. They primarily target the muscles in your back, making them ideal for improving overall back strength and muscle mass.
Improved Posture:
By strengthening the back muscles, particularly the traps, rhomboids, and lats, inverted rows help in maintaining better posture, crucial for both everyday activities and athletic performance.
Core Strength:
This exercise also engages your core muscles, including your abdominals and lower back, contributing to improved stability and balance.
Shoulder Health:
Inverted rows promote shoulder stability and can help in preventing shoulder injuries, especially beneficial for those involved in pressing heavy weights overhead.
Weekly Inverted Rows Workout Plan:
Day 1: Upper Body Strength Focus
- Inverted Rows – 4 sets of 8-12 reps
- Push-ups – 4 sets of 10-15 reps
- Dumbbell Shoulder Press – 3 sets of 8-10 reps
- Bicep Curls – 3 sets of 10-12 reps
- Tricep Dips – 3 sets of 8-10 reps
Day 2: Rest or Active Recovery
Day 3: Full Body Workout
- Squats – 3 sets of 10-12 reps
- Inverted Rows (Feet-Elevated) – 3 sets of 6-10 reps
- Lunges – 3 sets of 10 reps (each leg)
- Plank – 3 sets of 30-60 seconds hold
- Deadlifts – 3 sets of 8-10 reps
Day 4: Rest or Light Cardio
Day 5: Upper Body Hypertrophy Focus
- Wide-Grip Inverted Rows – 3 sets of 10-12 reps
- Chest Flyes – 3 sets of 10-12 reps
- Lateral Raises – 4 sets of 12-15 reps
- Hammer Curls – 3 sets of 12 reps
- Overhead Tricep Extension – 3 sets of 12 reps
Day 6: Rest or Active Recovery
Day 7: Core and Stability
- Tempo Inverted Rows (3 seconds up, 1 second hold, 3 seconds down) – 3 sets of 6-8 reps
- Russian Twists – 3 sets of 15 reps (each side)
- Bird Dogs – 3 sets of 10 reps (each side)
- Stability Ball Planks – 3 sets of 30 seconds hold
- Hollow Hold – 3 sets of 20 seconds hold
In summary
Inverted rows are a multifaceted exercise suitable for a wide audience. They strengthen and build muscle in key upper body areas, improve posture, enhance core strength, and can be easily adapted for different fitness levels. This makes them an excellent addition to virtually any workout regimen.